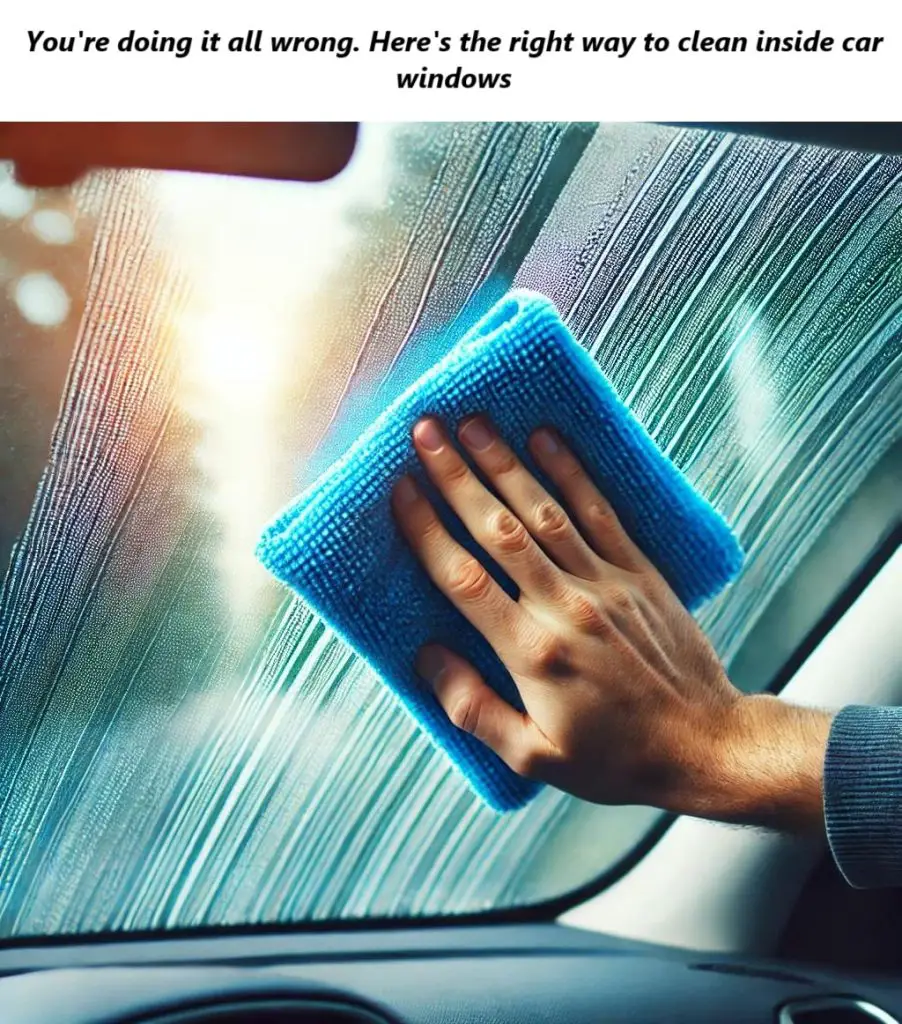
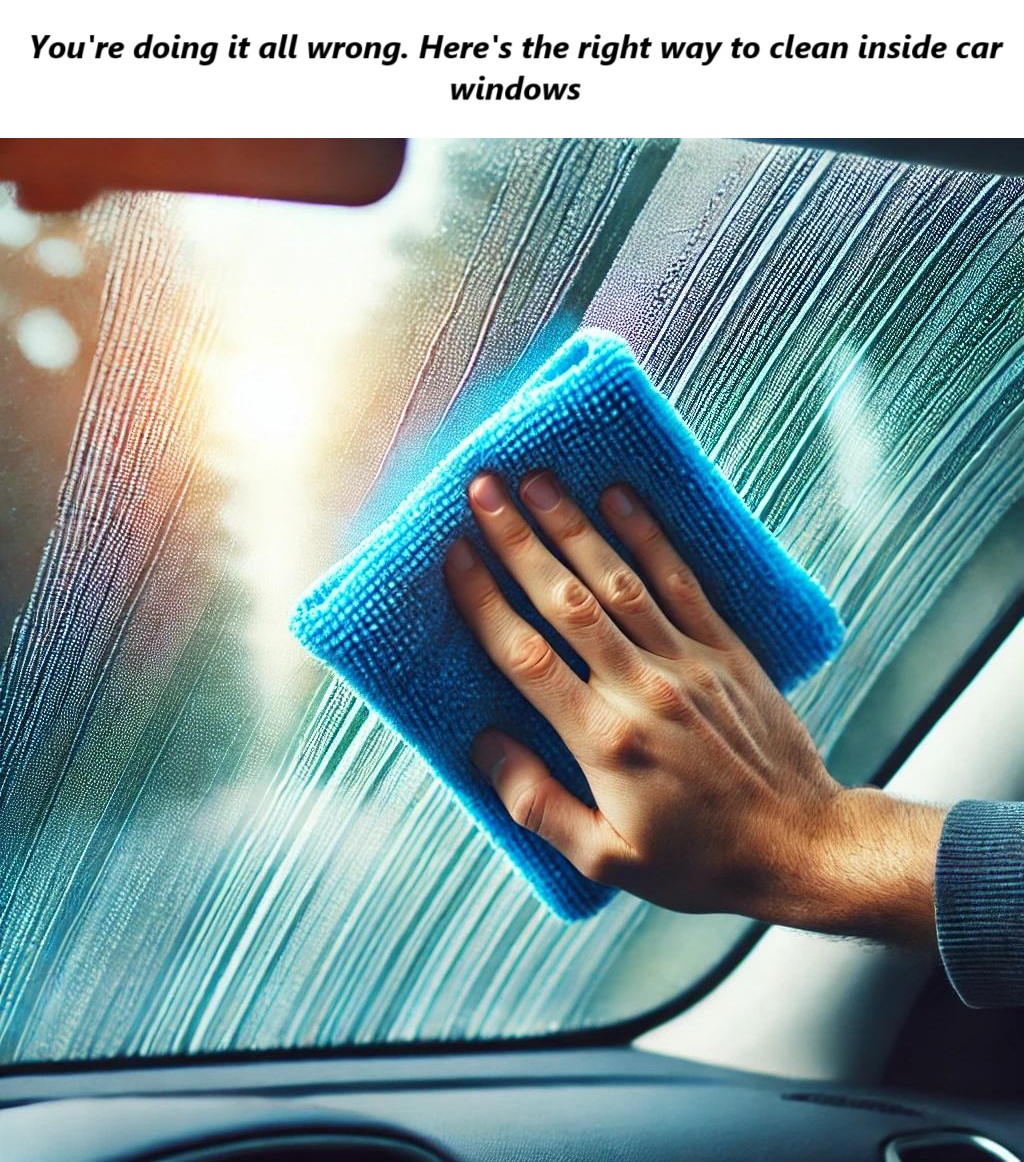
Keeping the inside of your car windows clean is essential for maintaining clear visibility and a polished interior. Over time, grime, fingerprints, and smudges can accumulate, making your windows appear foggy or streaky. Cleaning them the right way ensures a spotless finish without streaks. Here’s a step-by-step guide to achieving perfectly clean car windows.

Why Clean Inside Car Windows?
While many people focus on the exterior of their vehicles, the inside of car windows is just as important. Dirt, dust, and even oils from your hands can create a film that obstructs your view and reduces driving safety. Regular cleaning can:
- Improve visibility, especially during nighttime driving.
- Prevent streaks that catch light and glare.
- Enhance the overall look of your car’s interior.
Materials You’ll Need
Before you begin, gather the following supplies:
- Microfiber cloths (at least two)
- Glass cleaner (ammonia-free to prevent damage to tinted windows)
- A soft sponge or applicator pad
- Distilled water (if needed)
- A squeegee (optional, for large windows)
Step-by-Step Cleaning Guide
Step 1: Dust the Windows
Use a clean, dry microfiber cloth to remove loose dust and debris from the windows. This step prevents dust particles from scratching the glass when you start cleaning.
Step 2: Choose the Right Glass Cleaner
Opt for an ammonia-free glass cleaner, especially if your car windows are tinted. Ammonia can damage the tint film over time. Alternatively, mix a DIY solution with equal parts distilled water and white vinegar.
Step 3: Spray the Cleaner on the Cloth
Avoid spraying the cleaner directly onto the window, as this can cause drips and make the cleaning process messier. Instead, spray the cleaner onto a microfiber cloth or applicator pad.
Step 4: Wipe in Circular Motions
Using the damp cloth, wipe the window in circular motions to break up grime and fingerprints. Be thorough but gentle, especially around the edges where dirt tends to accumulate.
Step 5: Use a Dry Cloth to Buff
After cleaning, immediately buff the window with a dry microfiber cloth. This step removes any remaining streaks and gives the glass a polished finish.
Step 6: Pay Attention to Hard-to-Reach Areas
For corners and edges, wrap a microfiber cloth around your fingers or use a soft sponge. Ensure no residue is left behind, as this can lead to streaks.
Tips for Streak-Free Results
- Work in the Shade: Cleaning windows in direct sunlight can cause the cleaner to evaporate too quickly, leaving streaks behind.
- Clean Last: If you’re washing your entire car, clean the windows last to avoid water splashes or smudges from other cleaning products.
- Use Distilled Water: If your DIY cleaner leaves streaks, hard water might be the culprit. Switch to distilled water for a clearer finish.
How Often Should You Clean Inside Car Windows?
To maintain optimal visibility and a spotless appearance, aim to clean the inside of your car windows once a month. However, if you frequently drive in dusty areas or have children or pets, you may need to clean them more often.
Additional Tips
- For Smokers: Smoking in the car can leave a sticky residue on windows. Use a stronger glass cleaner or increase cleaning frequency to combat this.
- For Fogging: Clean windows are less likely to fog up. To prevent fog, wipe windows with a small amount of shaving cream and buff it off with a dry cloth.
- For Tough Spots: Use a magic eraser gently to remove stubborn grime, but avoid pressing too hard to prevent scratching.
Final Thoughts
Cleaning the inside of your car windows is a simple yet crucial task for ensuring safety and maintaining a clean interior. By following this step-by-step guide and using the right tools, you can achieve a crystal-clear finish every time. A little effort goes a long way in making your driving experience safer and more enjoyable.

