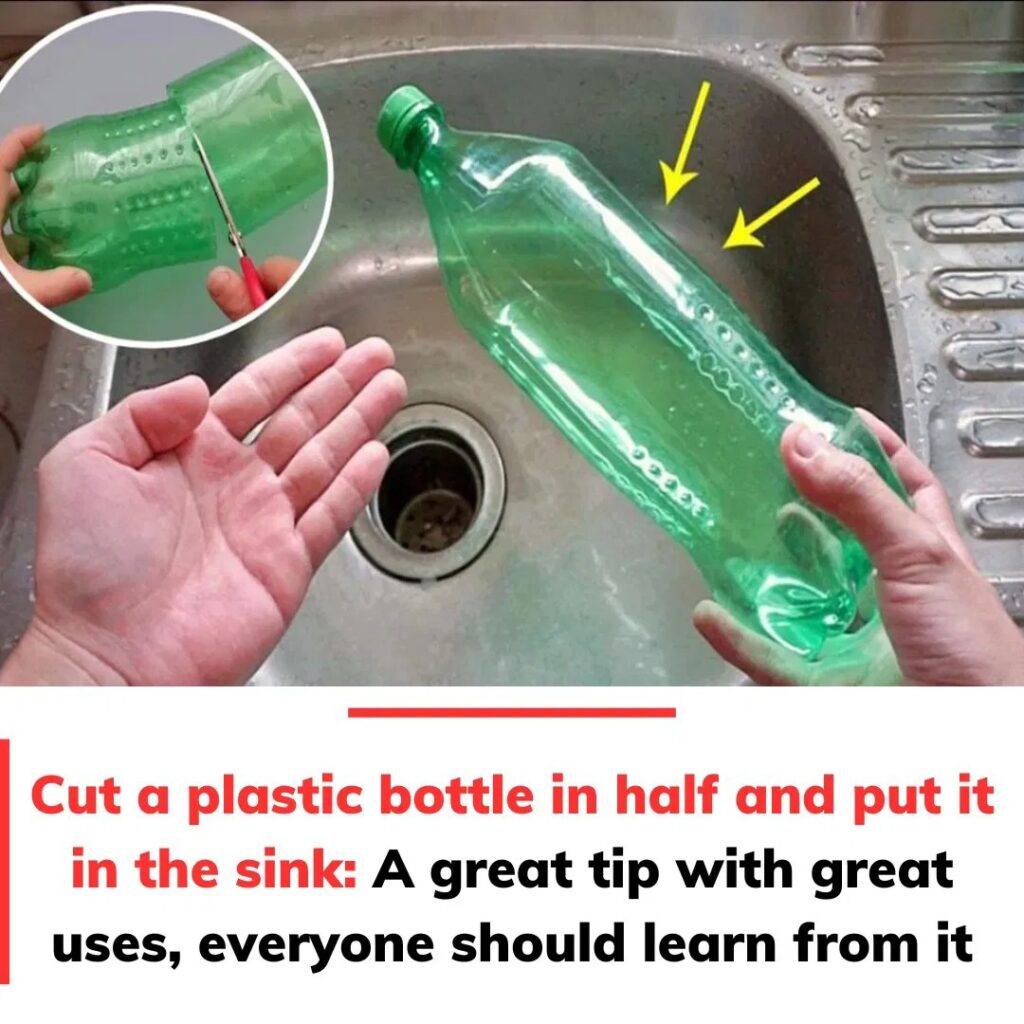
Plastic waste is a significant environmental concern, with millions of bottles discarded daily. Repurposing these bottles into useful household items not only reduces waste but also offers cost-effective solutions for everyday problems. One such innovative idea is converting a plastic bottle into a sink strainer to filter out food residues and prevent drain clogs.
Materials Needed:
- Empty plastic bottle (preferably 1.5 or 2 liters)
- Sharp scissors or utility knife
- Metal nail or thick needle
- Pliers
- Heat source (candle or gas stove)
- Protective gloves (optional)
- Wire or strong string
Instructions:
- Prepare the Bottle:
- Rinse the plastic bottle thoroughly to remove any residual liquids or odors.
- Remove labels to ensure a clean working surface.
- Cut the Bottle:
- Using sharp scissors or a utility knife, carefully cut the bottle horizontally across the middle.
- For most sink sizes, the bottom half of the bottle will be used as the strainer.
- Ensure the cut edge is smooth to prevent any accidental cuts during handling.
- Create Drainage Holes:
- Using pliers, hold a metal nail or thick needle and heat it over a candle flame or gas stove until it’s red-hot.
- Carefully pierce the bottom of the bottle with the heated nail to create multiple small holes.
- Aim for 5-6 evenly spaced holes to allow water to drain efficiently while trapping food particles.
- Reheat the nail as necessary if it cools down during the process.
- Always exercise caution when handling heated tools to prevent burns.
- Add Support Handles (Optional):
- Puncture two small holes opposite each other near the cut rim of the bottle.
- Thread a piece of wire or strong string through these holes to create a handle or support for easy removal from the sink.
- Twist the wire ends securely or tie the string firmly to ensure stability.
- Install the Strainer:
- Place the modified bottle half into your sink’s drain area, ensuring it fits snugly.
- The drainage holes should allow water to pass through while collecting larger food particles.
- This DIY strainer helps prevent clogs and makes cleaning up after meals more efficient.
Benefits of This DIY Sink Strainer:
- Cost-Effective: Utilizes readily available materials, eliminating the need to purchase a separate sink strainer.
- Eco-Friendly: Promotes recycling and reduces plastic waste by giving a second life to used bottles.
- Customizable: Can be tailored to fit various sink sizes by adjusting the bottle size or cutting dimensions.
- Easy Maintenance: Simple to clean and replace as needed, ensuring optimal hygiene in the kitchen.
Safety Precautions:
- Handle Sharp Tools with Care: Always cut away from yourself and keep fingers clear of the cutting path to prevent injuries.
- Use Heat Safely: When heating the nail, ensure you’re in a well-ventilated area and keep flammable materials away from the flame.
- Protect Yourself: Consider wearing protective gloves to safeguard against accidental cuts or burns during the crafting process.
Alternative Uses for Modified Plastic Bottles:
- Funnel: The top half of the bottle can serve as a funnel for transferring liquids or dry goods.
- Planter: Both halves can be used as small planters for herbs or succulents, with drainage holes added as necessary.
- Storage Container: The bottom half can function as a storage container for small household items like screws, buttons, or craft supplies.
Conclusion:
Repurposing plastic bottles into functional kitchen tools like a sink strainer is a practical and environmentally friendly initiative. This simple DIY project not only helps reduce plastic waste but also provides a useful solution to prevent sink clogs. By following the steps outlined above, you can create a customized strainer that fits your sink perfectly, contributing to a more sustainable and efficient household.
For a visual demonstration of safely cutting a plastic bottle, you might find the following video helpful:

